Step-by-step: Create your account and set up your dashboard
Step 1: Create your KaraFun Business account
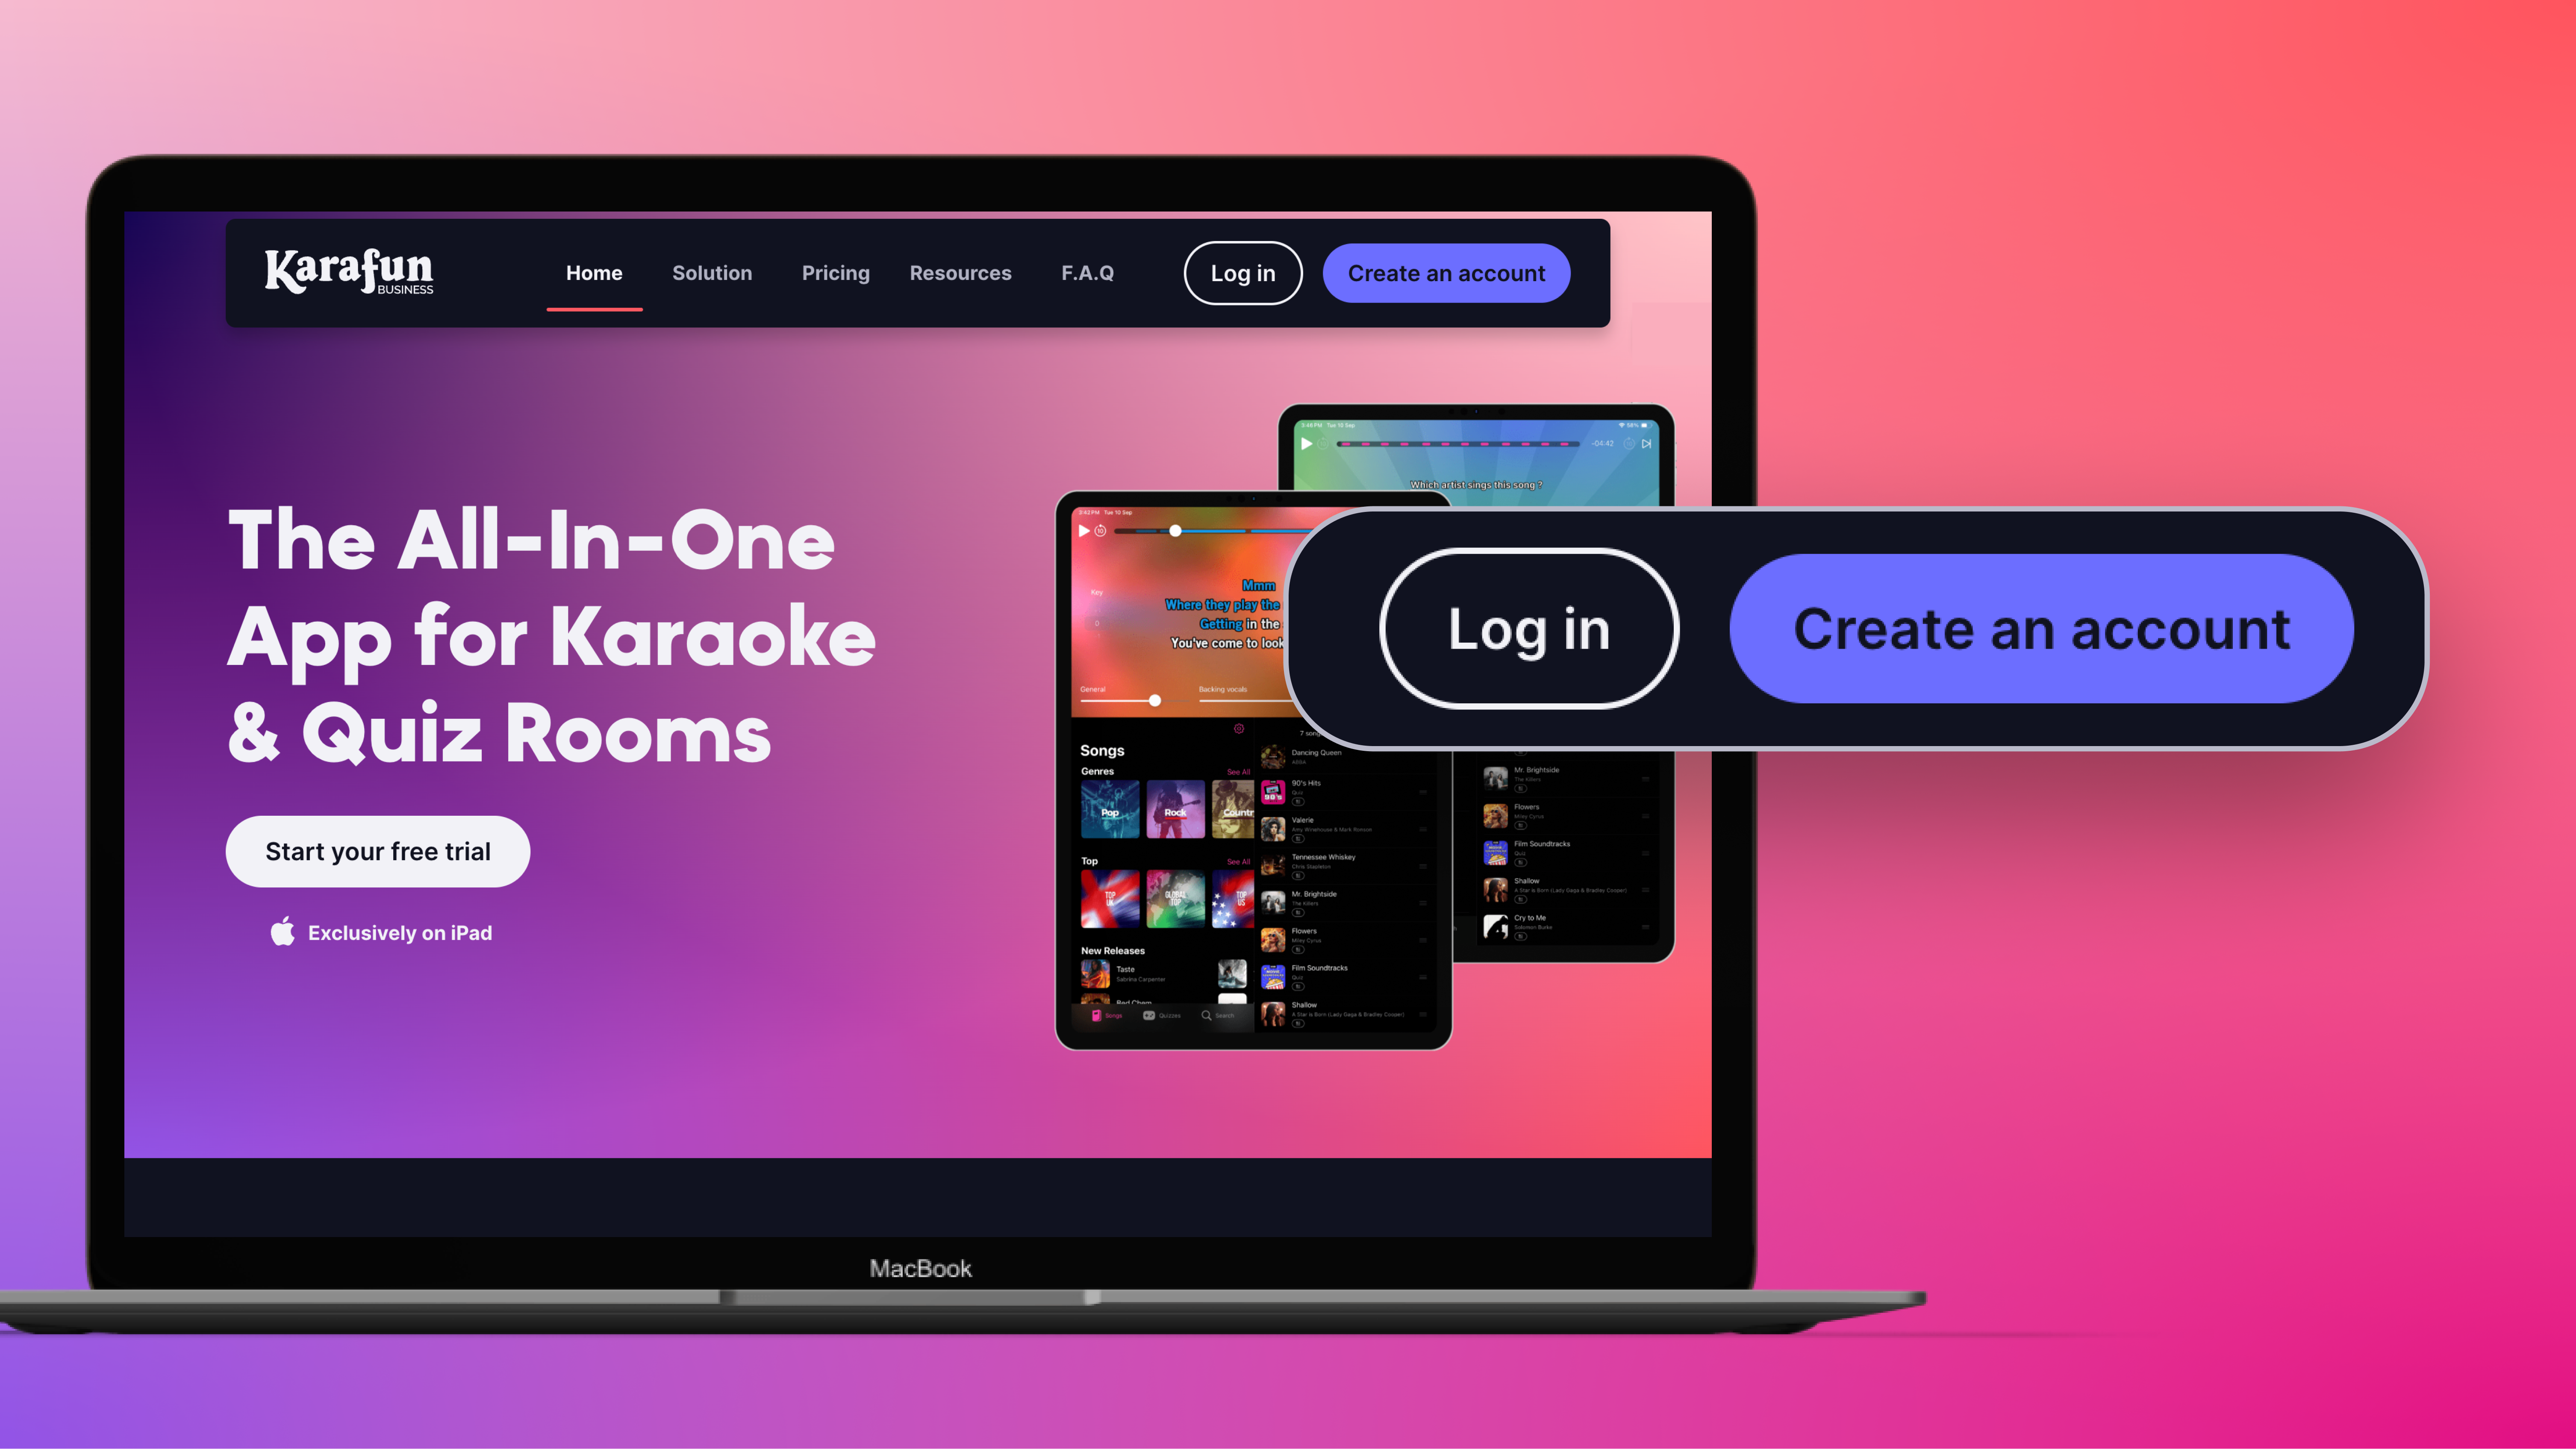
Head over to KaraFun Business and click “Create an account”. Answer a few questions to set up your project:
What's your project?
- A private room/box: Your clients enjoy an autonomous, private space to sing, play, and have fun!
- An event with a karaoke host and quiz: A host (DJ, KJ, or team member) manages the session's entertainment.
What type of establishment do you have?
- A karaoke bar or quiz rooms
- A multi-activity leisure complex
- A hospitality venue (bar, restaurant, hotel, cafe, campground, etc).
Personal information
Provide your first name, last name, email address, and create a password.
Step 2: Set up your rooms from the Dashboard
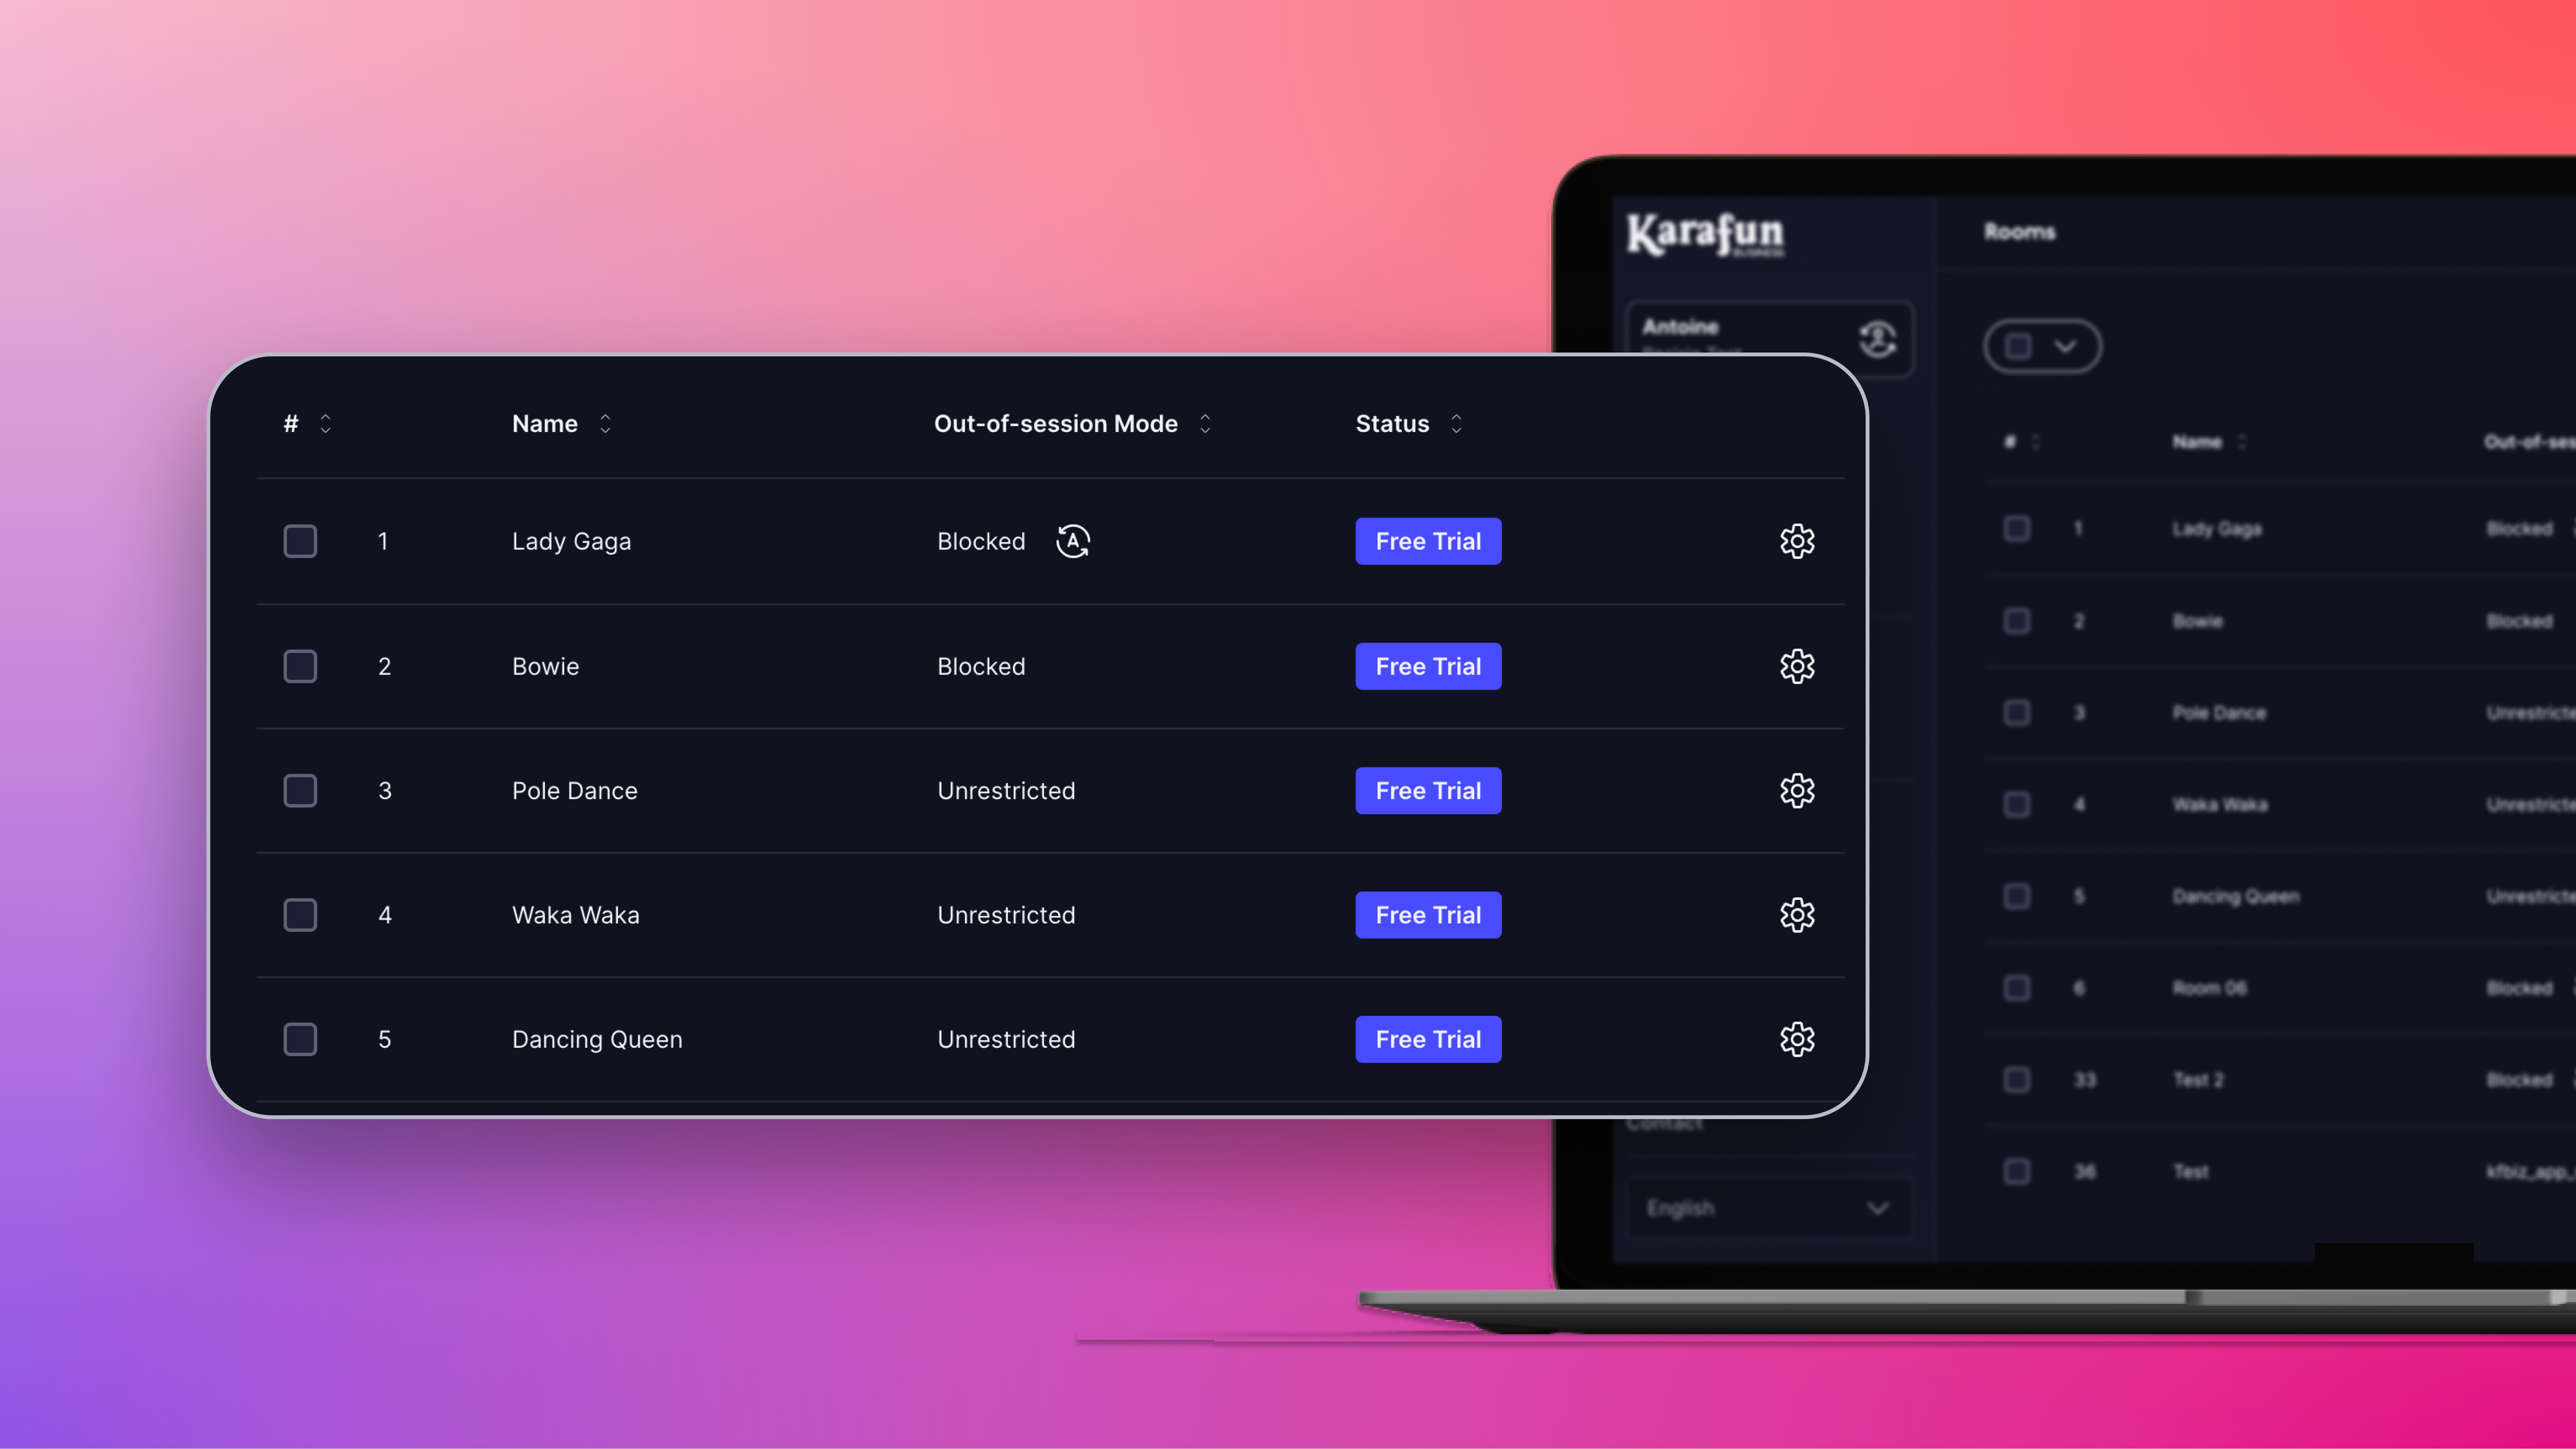
Once logged in, you'll land on your KaraFun Business dashboard. This is where you manage all your rooms.
Start by adding each room and giving it a clear number and name. This helps with easy identification, especially if you offer different themes or uses.
Example: Room 1 – Pop Karaoke, Room 2 – Quiz, etc.
Every new room will automatically show up on your dashboard with a status of “free trial” until a license is activated. This lets you quickly check if each room is linked to an active license.
When creating or editing a room, you can customize several settings:
- Room number & name: for quick identification.
- Off-session mode: enable it for access without a scheduled session.
- Content & parental control: restrict content if needed for your audience.
- Dedicated password: secure access to each room individually.
Once your settings are complete, don't forget to click SAVE to confirm the changes.
Step 3: Download the app and connect your iPads to the right rooms
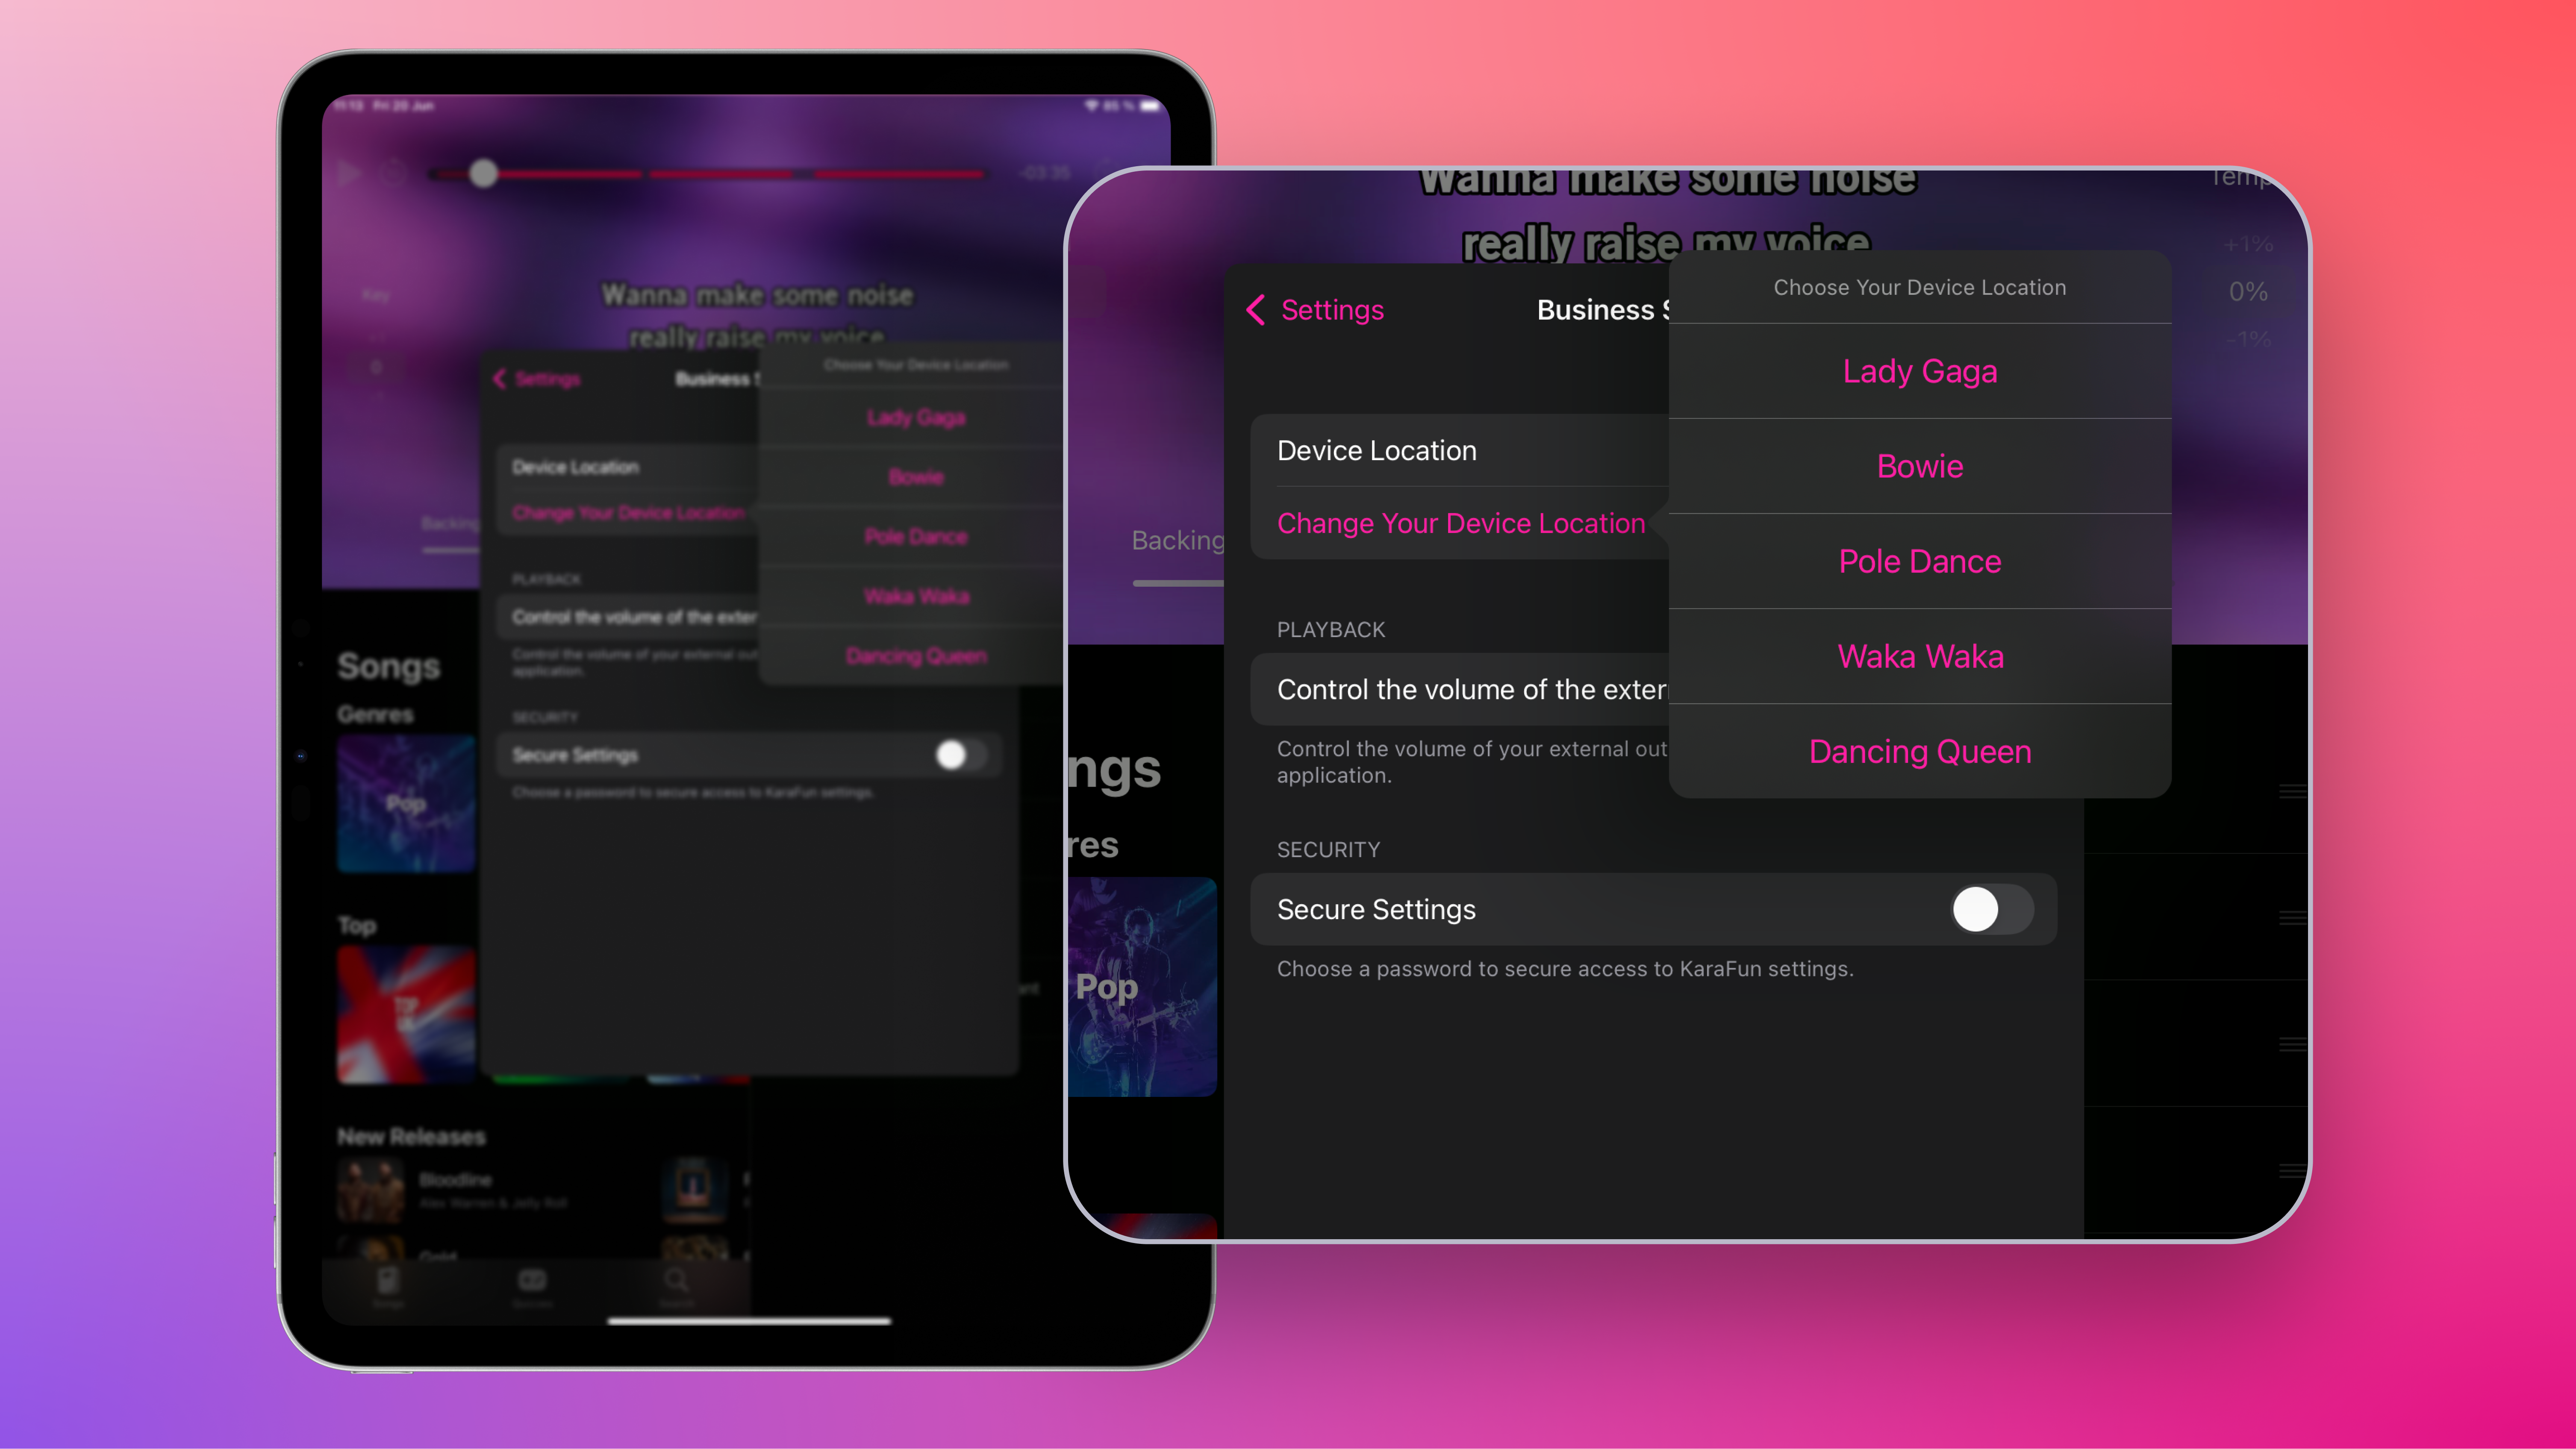
If you haven't already, download the KaraFun Business app on your iPads.
Then:
- Log in with your KaraFun Business credentials.
- On the first login, select which room the device corresponds to from those added in your Dashboard.
This ensures proper license assignment and optimal usage tracking.
Good to know: if needed, you can change the room assigned to an iPad anytime directly from the app settings. Handy for reorganizations or equipment changes!
Step 4: Manage your room sessions

From your Dashboard, you can view and manage your karaoke sessions:
- See rooms currently in use
- Track session times for past, current, or upcoming sessions
- Start or stop a session if needed
Great for keeping an eye on your spaces in real-time and optimizing your occupancy rates!
Step 5: Customize your settings
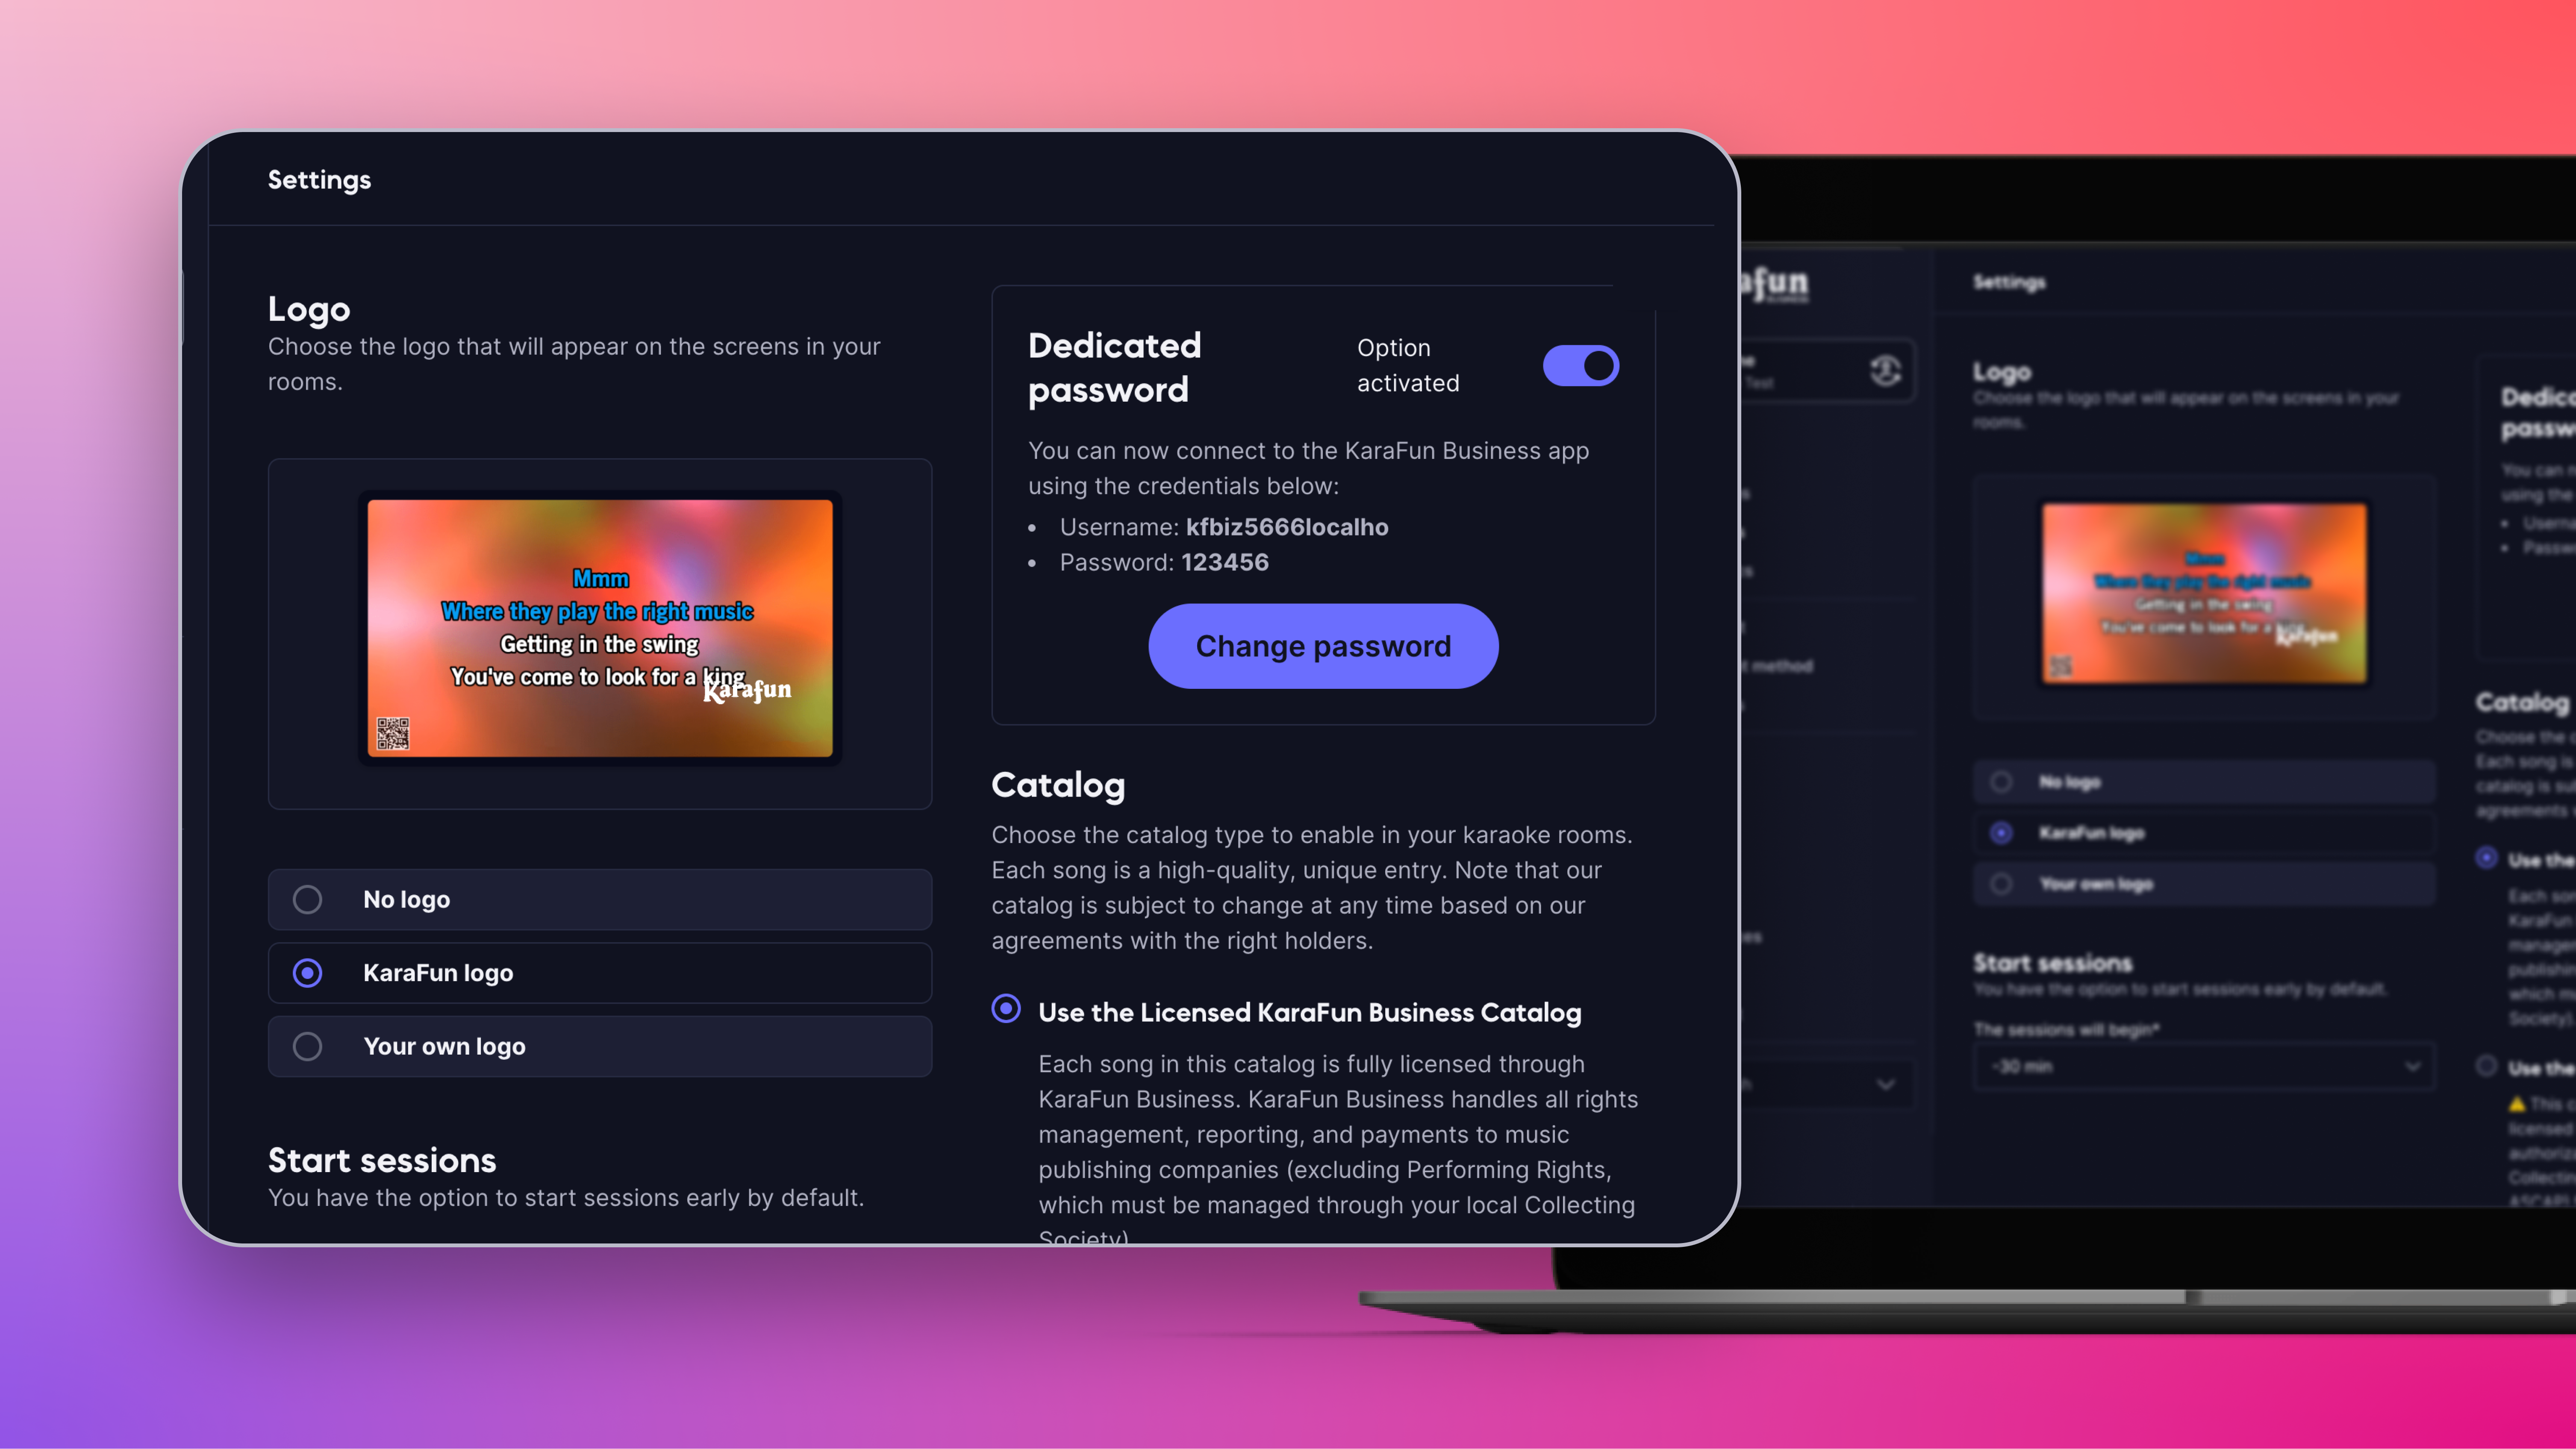
In the Settings tab, you can fine-tune your experience:
- Custom logo: Add your logo for a personalized interface.
- Dedicated password: Create a simplified login and password for your staff to access the KaraFun Business app on iPad without using the main account credentials.
- Catalog choice: Licensed catalog, Full catalog.
- Sessions Start Time: If desired, allow clients access to the iPad up to 30 minutes early.
And there you go, you're all set!
All that's left is to connect the iPad to your TV and sound system.
Your KaraFun Business solution is now set up and ready to go. It's time to welcome your groups and offer them an unforgettable singing and quiz experience!
Need a hand?
Find all our tips for launching and managing your karaoke business in the Resources section of our KaraFun Business website.
Our team is here to support you in setting up your KaraFun Business solution. Whether it’s for a private room or a multi-activity establishment, we have a solution tailored to your project!